 |
| Wheat Grass |
Not much is left to be researched on this humble yet healing grass, with online resources abound on how to grow it and its many proven health benefits. Now, this isn't a page to uncover something new on Wheat Grass, but a gentle record of how a delicate encounter with the grass, transformed into a hobby and now a skill, I call the art of growing Wheat grass.
Mid-last year, I had casually hit on a mail about growing Wheat grass, shared by a Wheat Grass Enthusiast through a mail group(Bangalore-Terrace-Gardens). This was the first time, I had ever heard about such an edible grass and the amazing benefits of it. I should thank my fortune, for this eye-opener . This introduction though informative, was not motivating enough to grow it. It did leave a reminder though, to try it someday.
It was not until I heard a testimony from a friend, who had a life changing experience, more of a miraculous escape from a serious liver ailment, after consuming the juice of wheat grass regularly, that I firmly decided to jump start. In case of life threatening ailments/diseases, very few are preemptive to move out of allopathic treatments to less assuring alternate therapies . This friend had his lessons from the ill side-effects of allopathy and gave a huge thumbs up for the liver healing/detoxifying/blood cleansing/enhancing properties of Wheat Grass. It definitely pays to take care of your liver and keep it healthy, as it is known to be the body's powerhouse organ, with more than 100 functions to perform.(http://www.apollolivercare.com/aboutTheLiver.html) For him, this tiny grass breathed fresh energy into his life, by restoring his liver and he boldly recommends everyone to include this liquid food into their lives. We at home, are thankful to him for having enlightened us and on our part we pass on the wisdom to our friends and family. On the other end, I just couldn't wait to try out this juice and start experiencing its benefits and ........ I didn't wait :).
As a passionate gardener myself, watching my plants grow, was not something new to me, but I guess raising Wheat Grass was an entirely new experience in itself. Undoubtedly, over the last few months, we've felt a boost in our immunity, means less pills and good energy levels, after we started consuming the juice. Having experimented different methods now with the help of online resources, with more than 10-15 pots of harvest over a period of 6 months, I can say that I have had lots of learning and do have a perfectly drawn method, the details of which I share in the rest of the pages in easy steps, for you to try growing your own Wheat Grass at home.
How to Grow Wheatgrass?
YOU WILL NEED -
- Unpolished Wheat Grains (available in most of the grocery stores/exclusive organic stores like Namdhari's) - Why Unpolished? For the simple reason - polished grains won't sprout as they are processed and lose their properties. I have had my dose of starting it amateur and ending up trying to sprout polished grains, feeling disappointed. So if at all you hit upon one such, try buying it from a different store.
- Container - A fairly broad (6-8 inches in diameter) and at least 3-4 inch deep container (without holes) - Even takeaway boxes, big plates (trays) and plastic containers reasonably deep, can be used to start with.
- Medium - Soil with a little compost mixed (1:1)
- Tap Water
STEPS
- Sprouting (Crack the Wheat!) - Vital for a good harvest!

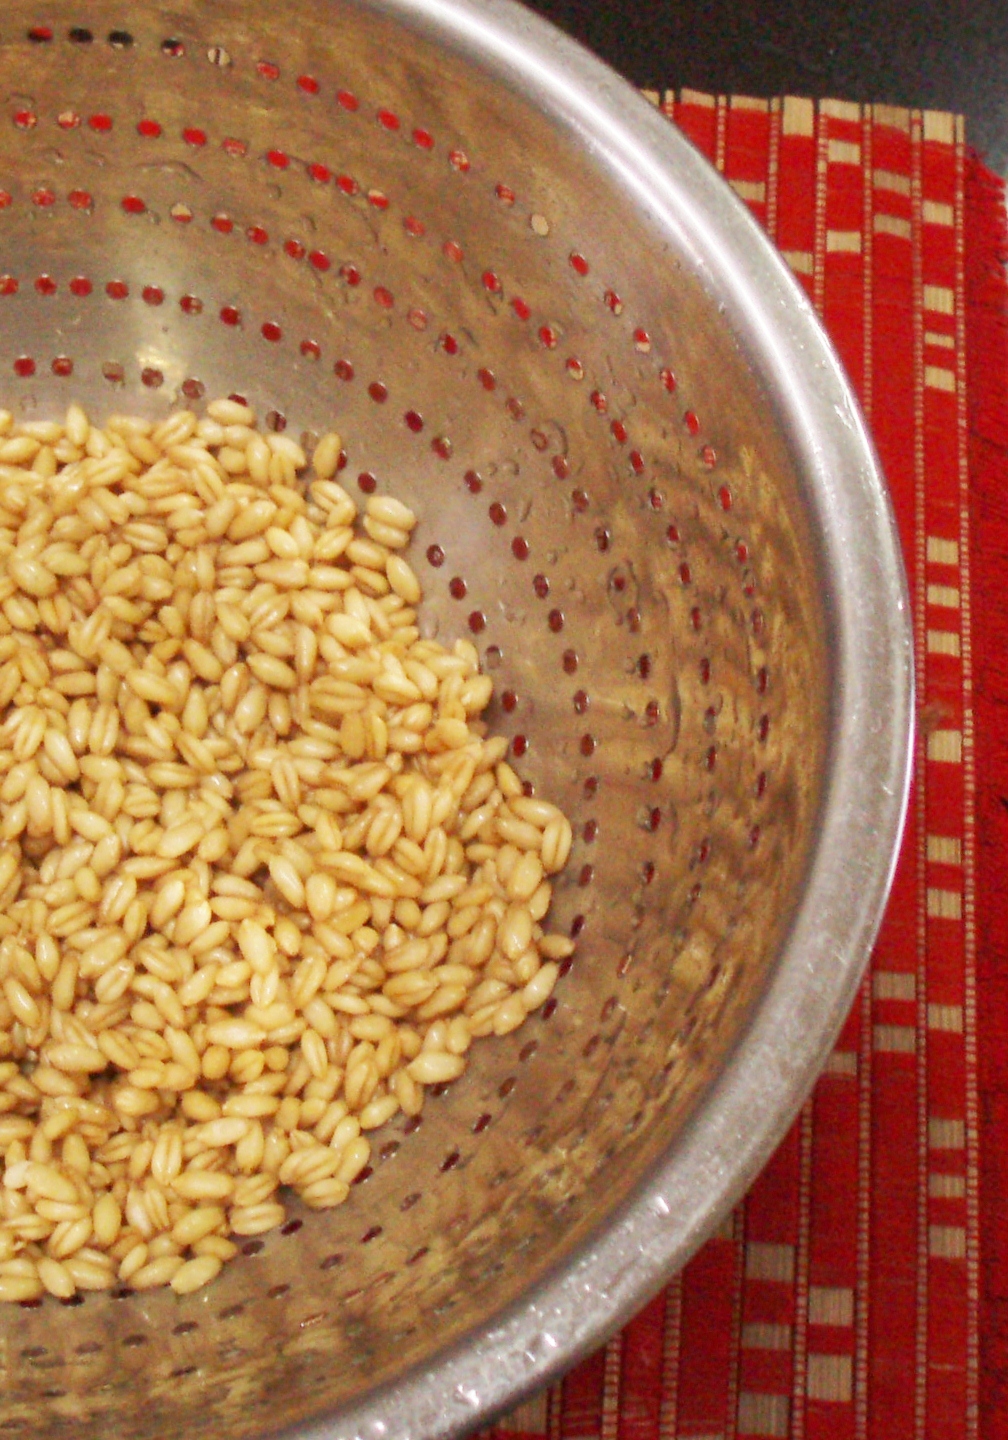
Drain the water by transferring the soaked grains into a colander (a container with little holes).

Rinse the grains thoroughly under running water. Doing this step will keep any kind of mold/microbial growth under check and will also keep the grains moist leading to faster sprouting. The rinsing process should be repeated twice a day, till the grains are moved to soil.

Retain the grains in the colander for good aeration. Just, cover the colander with an appropriate lid and leave it at room temperature. (Note: - Sprouting can be done in a closed container also, but with less aeration and excess moisture, I often found it resulting in mold formation and a foul smell with a less uniform sprouting.)
Stages of Sprouting


2.Transferring to Container and watching them grow (Breathe Easy!)

Prepare a container with Soil:Compost mixture (1:1). Make sure there are no hard lumps.


 Cover the surface of the pot with a newspaper. Spray on top of the newspaper, wetting it thoroughly. Keep the surface covered , till you see green nodes start shooting up. Make sure you spray at least twice a day.

The sheer joy of watching them grow taller everyday is for us to witness and feel good.
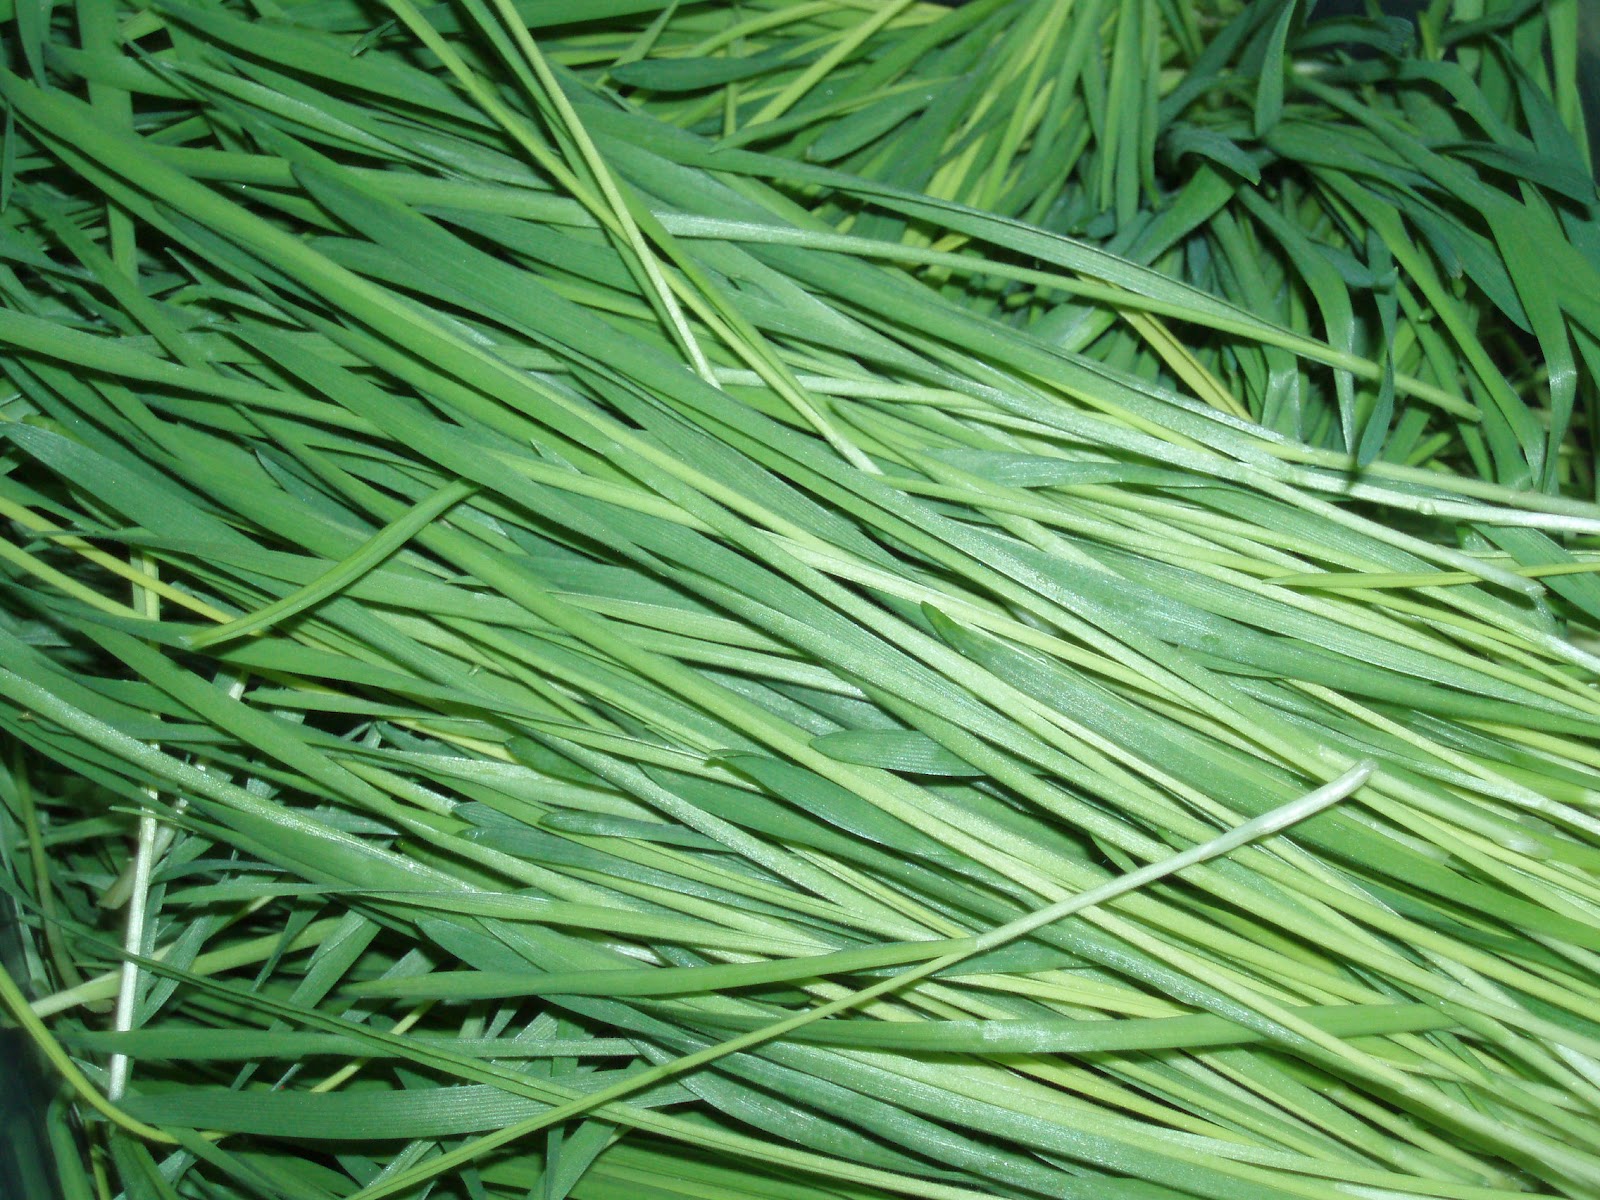
3. Harvesting (Reap what you Sow!)
As soon as the grass is about 7-8 inches tall ( which usually happens around the 7th to the 9th day from the date of sowing) harvest the grass by cutting with a clean pair of scissors just above the surface of the soil.The harvested wheat grass is now ready to be juiced or stored.

Hall of Fame - A Memoir of the growing episodes in a variety of containers....
